Recent Posts

Banana Cake With Peanuts (and Vinegar!)

Banana Cake With Peanuts (and Vinegar!)

  Eat your bananas! They’re healthy–fiber rich, low in calories, and high in potassium which helps regulate blood pressure.The animo acid tryptophan and vitamin B6 in bananas just might elevate your mood, too. Who doesn’t need that right now? This little cake pushes all the…
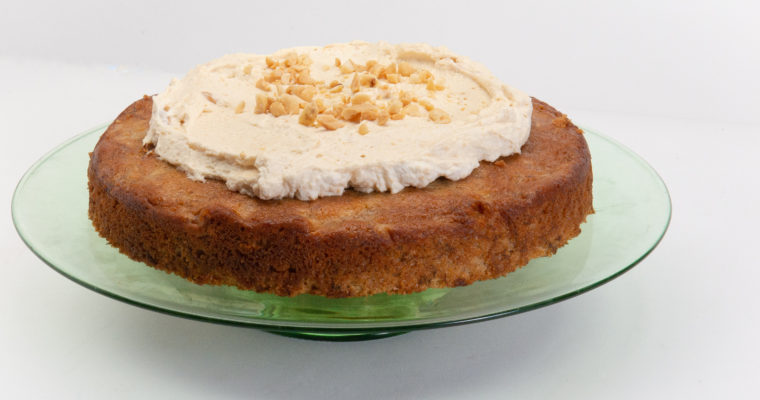
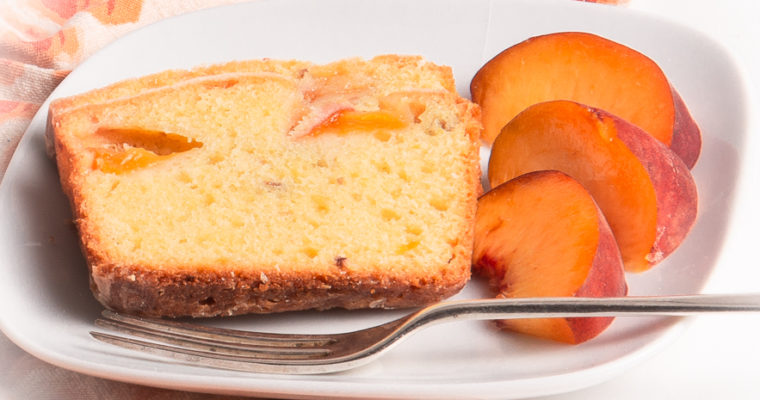
Peach Poundcake

Peach Poundcake

Ah, peaches! Peaches originated in China thousands of years ago. Persian traders, in turn, introduced the fruit to Europe and called it the “Persian Apple.” Explorers and colonists introduced them to the Americas. They are beloved just about everywhere. Don’t ask for one in Turkey,…

My “Hero”:  Frosty Lime Sherbet

My “Hero”: Frosty Lime Sherbet

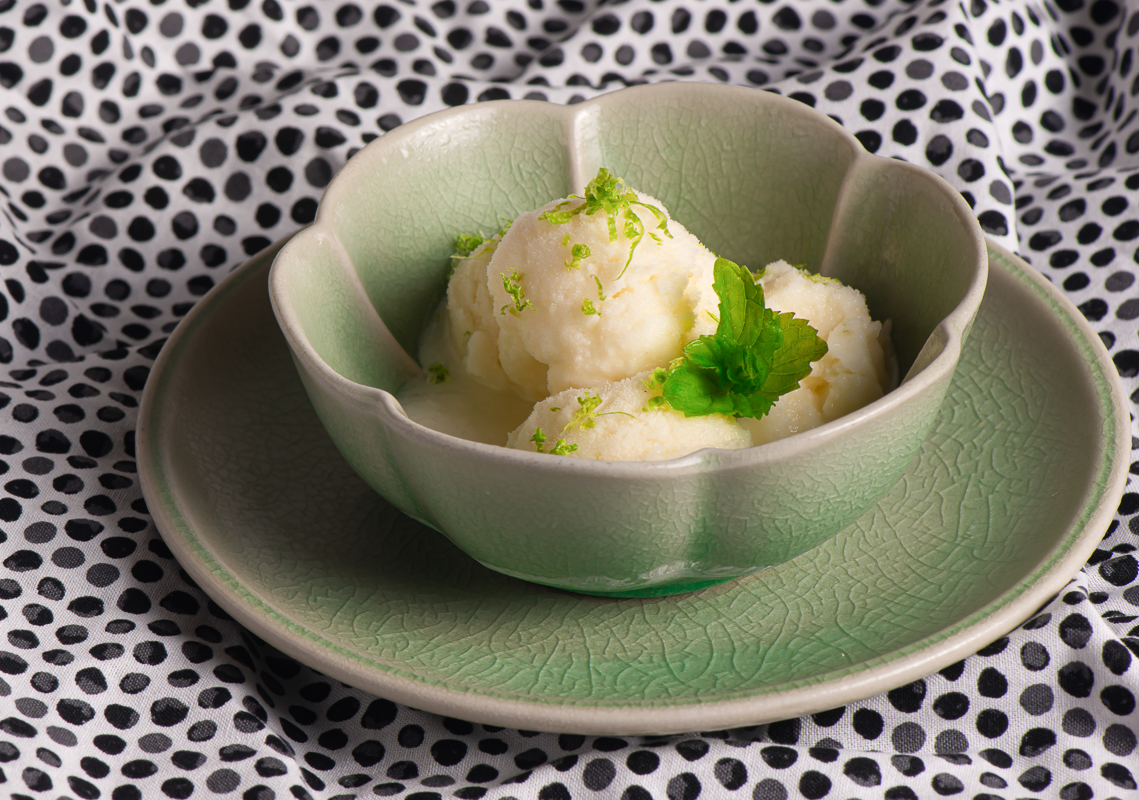
There is something truly wonderful about photographing ice cream–or, in this case, sherbet. It melts.

Oh, you know, there is the interminable fiddling around with the food styling. Gotta try a gazillion angles and backgrounds. White bowl? Green bowl? Mint sprig?

This is a hard job, people! It takes time that a frozen dessert just doesn’t have.

Then, there are the lights. They’re hot.

And…you can’t just take one shot. Your inner Annie Leibovitz takes over and each shot yields to another and another and another until you get your “hero shot.” (That’s photography lingo for the perfect shot. My ever-patient photography teacher, Al Nomura, would be proud to know that I actually listened during classes. )

Through it all, the sweet little sherbet just sits there.   And melts.

So…do I take photographs of a puddle of melted sherbet?

Not on your life! Blue Cayenne has high standards. I’d get angry letters and I’d catch hell from Blue Cayenne’s Chief Quality Officer, Juliet.

So Juliet and I slurp the bowl of tart sweet melted sherbet. Then, Juliet drifts off for a belly-up nap in the California summer sun while I set up another shot and possibly (I hope. I hope.) watch that one melt, too.

Fortunately, this sherbet contains yogurt and a lot of vitamin C. That makes it a health food. Right?

Here’s the recipe.


Frosty Lime Sherbet
Save RecipeSave Recipe

Ingredients

  • 1 1/3 C. fresh citrus juice (from 4 limes, 1 orange and 2 lemons)
  • 1 C. granulated sugar
  • 1 C. water
  • 1 1/2 C. full-fat plain yogurt
  • 1/2 t. fine grain sea salt

Instructions

  1. Zest the limes and set them aside.
  2. Juice the limes, oranges and lemons and strain the juice. You will need 1 1/3 C. of fresh juice--- 3/4 C. fresh lime juice, 1/4 C. fresh orange juice and 1/3 C. fresh lemon juice. Refrigerate the juices until cold.
  3. Combine the sugar and water in a small saucepan over medium heat and cook (stirring) until the sugar is dissolved. This will give you a simple syrup for your sherbet. Cool and then refrigerate.
  4. Combine the chilled juices, the chilled simple syrup and the yogurt and whip to combine. I used a hand-held mixer. You want the ingredients to form a smooth liquid.
  5. Freeze in your ice cream maker. When the mixture begins to thicken in your ice cream maker, add the lime zest and the 1/2 t. salt. Continue to freeze. Once your sherbet is frozen, serve or store in your freezer.
  6. Garnish with lime zest and a sprig of mint.

Nutrition

Calories

1139 cal

Fat

5 g

Carbs

260 g

Protein

19 g
Click Here For Full Nutrition, Exchanges, and My Plate Info
7.8.1.2
240
https://bluecayenne.com/my-hero-frosty-lime-sherbet


This recipe is adapted from one that appears on the site 101 Cookbooks. You can find the original recipe here.

Me and The Queen of Sheba: Apricot Pistachio Bars

Me and The Queen of Sheba: Apricot Pistachio Bars

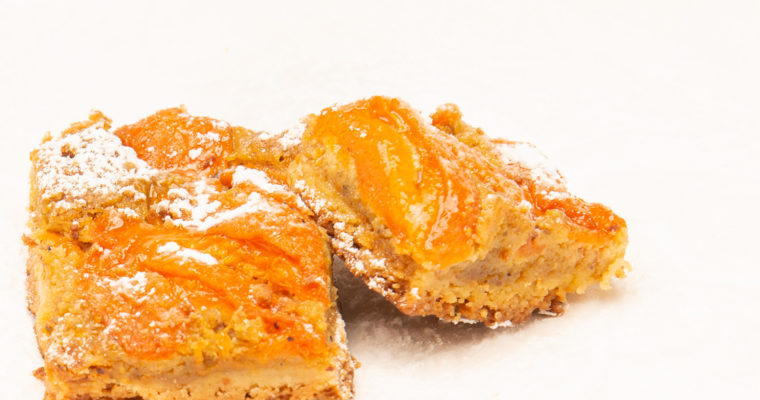
Legend has it that the Queen of Sheba so loved pistachios that she claimed ownership of all the pistachio trees in her realm. That’s kind of the way I feel about these Apricot Pistachio Bars. They are that good. These bars sport a generous top…

Triple Lutzes and Shortbread Cookies

Triple Lutzes and Shortbread Cookies

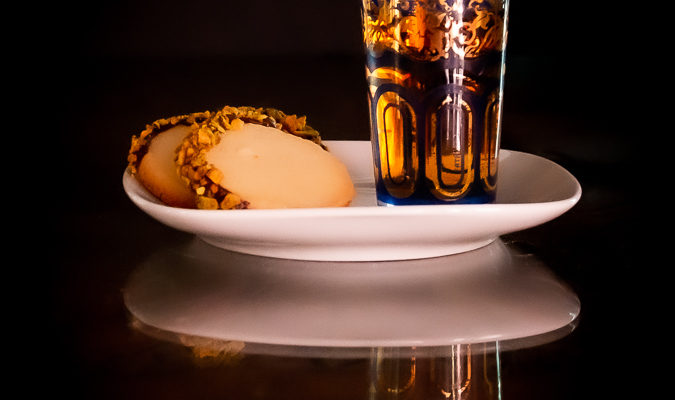
  It’s all about cookies around here. In Juliet’s case, it is her beloved pumpkin treats. The pup savors every crumb and dances for more. Think I’m exaggerating? Ask my neighbors and you will get a knowing nod. Around here, Juliet is known for her…

Gadget Madness: Spiralized Vietnamese Cucumber Salad

Gadget Madness: Spiralized Vietnamese Cucumber Salad

I’m a gadget girl.

I have drawers and drawers (and drawers!) of cooking tools–some whose function I no longer remember.

So, like most of the rest of the cooks in America right now, I’ve been doing some pandemic kitchen cleaning and organizing. I’ve put off the gadget drawers until last. Their day has now come.

But it is hard. Really hard.

Do I keep the decorative radish slicer or toss it? You never know when something like that would come in handy. (The directions are in German or some other language but still.) And the cute little plastic momo (Tibetan dumpling) press?  Surely, I might need that. And the citrus zester that looks like a smiley face…

Did I mention that I bought a “Be The Bee Pollinator” from Aero Garden. If there is a honey bee shortage, I’m covered.

Which brings me to my beloved spiralizer. It turns vegetables like zucchini and cucumbers into noodles. It makes curly fries. It makes margaritas.  (OK. I made that last one up.) Get rid of it? How could I?

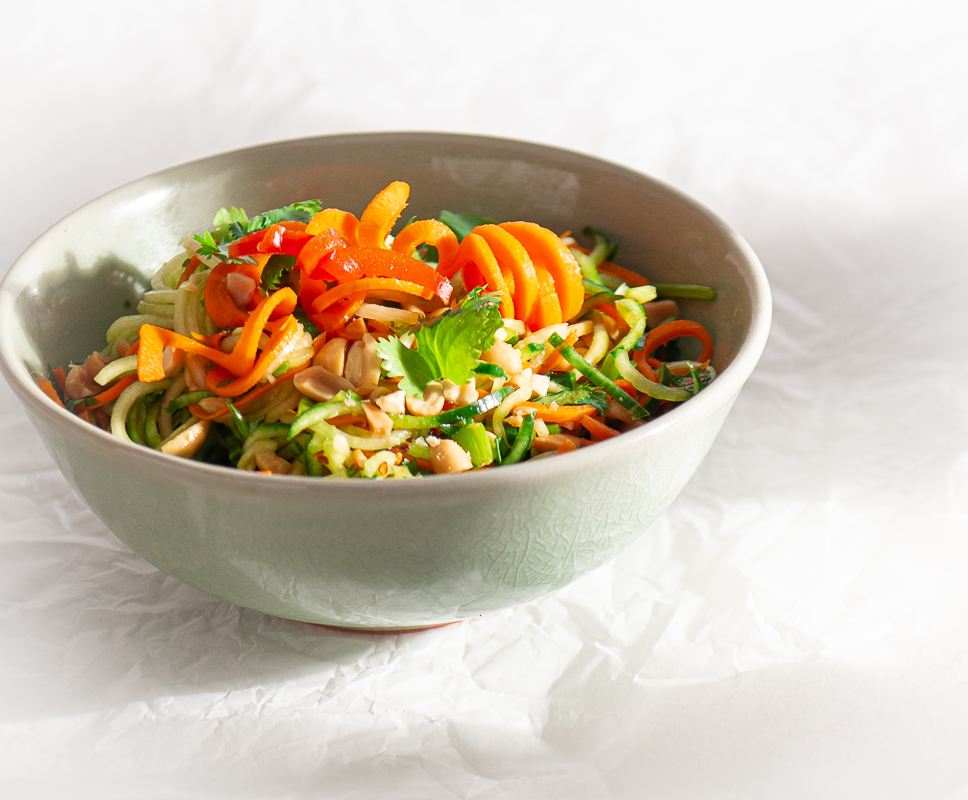
So, to assuage my clutter conscience, here is a Spiralized Vietnamese Cucumber Salad. It’s delicious. Perfect for your summer table.


Spiralized Vietnamese Cucumber Salad
Save RecipeSave Recipe

Ingredients

  • 3 T. lime juice
  • 2 T. light brown sugar (or to taste)
  • 2 t. peanut oil
  • 2 scallions (sliced)
  • 1 small clove garlic (minced)
  • 1/4 t. crushed red pepper
  • 1 large English cucumber (spiralized and patted dry)
  • 1 large carrot (spiralized)
  • 1/4 C. chopped fresh cilantro
  • Salt to your taste.
  • 4 T. chopped peanuts (or to your taste)
  • White sugar (to your taste) to sprinkle on salad just before serving

Instructions

  1. Whisk lime juice, brown sugar, oil, scallions, garlic and crushed red pepper in a large bowl until the sugar is dissolved. Add salt to your taste.
  2. Add spiralized cucumber, carrot and chopped cilantro to the dressing and toss.
  3. Sprinkle with peanuts and extra sugar to serve.
  4. Cook's Note: I reserved a small amount of the spiralized vegetables to toss into the salad just before serving. The dressing marinates and softens the spiralized vegetables. A last minute addition of unmarinated crunch enhances the salad, I think. I also drained the extra salad dressing off the salad rather than let them sit in the dressing and soften. Chilling the salad enhances the flavors.

Nutrition

Calories

3924 cal

Fat

321 g

Carbs

196 g

Protein

148 g
Click Here For Full Nutrition, Exchanges, and My Plate Info
7.8.1.2
237
https://bluecayenne.com/gadget-madness-spiralized-vietnamese-cucumber-salad


This recipe is adapted from on that appeared in Eating Well Magazine. You can find the original recipe here.

A Birthday? Be Sure to Invite the Goddess of the Moon

A Birthday? Be Sure to Invite the Goddess of the Moon

“And I rose In rainy autumn And walked abroad in a shower of all my days…” ― Dylan Thomas Birthdays. How in the world do you celebrate important days during a pandemic? With a cake! However it happens–store-bought or homemade, left on the front porch…

I’ll have a cup of vodka with that! Pasta alla Vecchia Bettola

I’ll have a cup of vodka with that! Pasta alla Vecchia Bettola

“I’d much rather eat pasta and drink wine than be a size zero.”                                            —Sophia Loren   I’m with Sophia. Why not start your pasta…

It’s a pizza!

It’s a pizza!

This, quite deservedly, is King Arthur Flour’s recipe of the year.

It is a wonderful puffy deep-dish pizza you can make in your cast-iron skillet. Easy-peasy, by the way.

Here is the recipe.


It’s a pizza!
Save RecipeSave Recipe

Ingredients

    For The Pizza
  • 2 C. all-purpose flour
  • 3/4 t. salt
  • 1/2 t. yeast
  • 3/4 C. lukewarm water
  • 1 T. olive oil (and 1 1/2 T. olive oil for the pan)
  • For The Pan
  • 6 oz. grated mozzarella (or more!)
  • 1/3 to 1/2 C. tomato sauce or pizza sauce
  • Freshly-grated hard cheese and fresh herbs for sprinkling on top after baking (optional)
  • Sliced black olives (optional)

Instructions

  1. Put flour, salt, yeast, water, and 1 tablespoon of olive oil in the bowl of a stand mixer. Using the paddle attachment on your mixer, mix all the ingredients together (about 45 seconds) until you have a sticky mass of dough with no dry patches of flour. Scrape down the sides of the bowl and, using wet hands, gather the dough into a ball. Cover the bowl and let the dough sit for 5 minutes.
  2. After the 5 minute rest, reach into the bowl and begin to stretch and fold the dough. You will do this four times. After each stretch and fold, you will cover the bowl and let the dough rest for 5 minutes. King Arthur Flour describes a stretch and fold this way: "Reach a bowl scraper or your wet hand down between the side of the bowl and the dough, as though you were going to lift the dough out. Instead of lifting, stretch the bottom of the dough up and over its top. Repeat three more times, turning the bowl 90 degrees each time. This process of four stretches, which takes the place of kneading, is called a fold."
  3. Once you have completed the series of stretch and folds, cover the bowl and let the dough sit for 40 minutes. After the 40 minute rest, refrigerate the dough for at least 12 hours and for up to 72 hours. The dough will rise slowly during the refrigerated period and letting it rest for hours will develop the flavor of the dough.
  4. Three hours before you plan to bake your pizza, put 1 1/2 tablespoons of olive oil in a 10-inch cast iron skillet. Be sure the oil is evenly distributed on the bottom of the skillet and, using your hands, rub the olive oil up the sides of the skillet.
  5. Take your dough out of the refrigerator and place it in the oiled skillet. Turn it over once. You want the dough to have a nice coat of olive oil on both sides.
  6. Once you have the dough oiled and in the skillet, use your fingers to press the dough to the edges of the pan. Then, use your fingers to push indentations all over the top of the dough, dimpling it. If the dough is tight and doesn't press out to the sides, let the dough rest for 15 minutes and try it again (You can do this three times if you need to.). Now, cover the dough and let it rise for two hours at room temperature. It will become puffy and, when it is properly risen, will jiggle when you shake the skillet.
  7. Preheat your oven to 450 degrees F. (You will want to begin preheating your oven about 30 minutes before you plan to bake your pizza.) You will want one of the oven racks to be toward the bottom of the oven and one toward the top of the oven.
  8. When you are ready to bake your pizza, sprinkle about 3/4 of the grated mozzarella over the top of the pizza. Spread it evenly so that the crust is completely covered. Put dollops of your tomato sauce on top of the mozzarella. Finally, cover with rest of the grated mozzarella and the black olives if you are using them.
  9. Bake the pizza on the bottom rack of your pre-heated oven for 18-20 minutes. When the pizza is done, the cheese should be bubbling, the bottom crust should be a light brown and the top of the pizza should be a rich golden brown. (You can check the bottom of the crust by using a metal spatula to lift up an edge of the dough.) At this point, you have a couple of options. If the bottom of the crust is brown but the top does not look sufficiently baked, put the pizza on the top rack in your heated oven for a couple minutes. If the bottom of the crust isn't brown, you can leave it on the bottom shelf for 2 to 4 more minutes. Watch your pizza carefully during this last part of baking to ensure that it doesn't burn.
  10. When your pizza is done, remove it from the oven and put it on a heat-proof surface. Run a sharp knife between the side of the pan and the pizza to release any areas that might be sticking. Let the pizza cool a bit and then carefully remove it from the pan. Put it on a cooling rack.
  11. Pizza should be served medium hot to warm. You can use a serrated knife or kitchen scissors to slice the pizza.
  12. Enjoy.
7.8.1.2
234
https://bluecayenne.com/its-a-pizza

You can find the original King Arthur Flour recipe for this pizza here.


Carpe Diem and Pass the Chiles: Spicy Spinach, Bean and Pasta Soup

Carpe Diem and Pass the Chiles: Spicy Spinach, Bean and Pasta Soup

  “Ask not (’tis forbidden knowledge), what our destined term of years, Mine and yours; nor scan the tables of your Babylonish seers. Better far to bear the future, my Leuconoe, like the past, Whether Jove has many winters yet to give, or this our…