Recent Posts

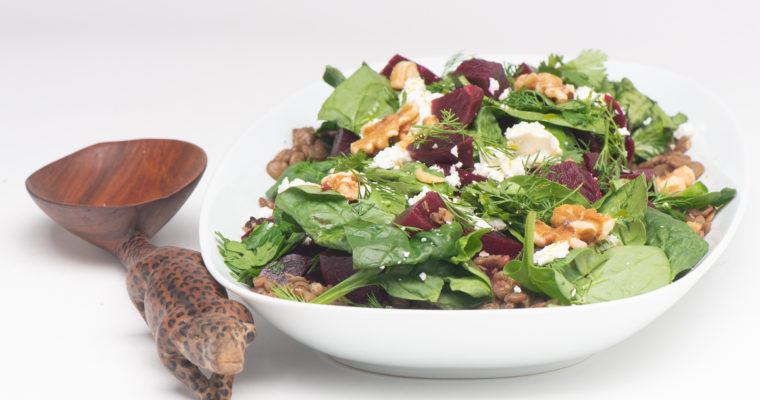
Pickled Beet Salad With Puy Lentils, Baby Spinach and Feta

Pickled Beet Salad With Puy Lentils, Baby Spinach and Feta

This is a beautiful salad inspired by Hetty McKinnon’s recipe for Pickled Beetroot With Puy Lentils, Baby Spinach and Cheddar in her wonderful cookbook Community. You have a lot of colorful choices within the beet (Beta vulgaris) family, too. You can make this salad as…
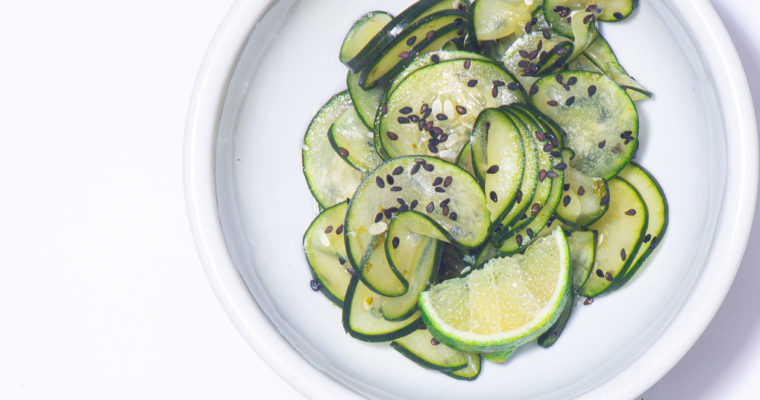
Cucumbers in Sweet Lime Vinegar

Cucumbers in Sweet Lime Vinegar

    Who doesn’t need a good condiment now and then? That is particularly true now. Those creative dishes we are all making with pantry staples can get a wee bit boring. This over-the-top lime-flavored cucumber dish rocks. If you are a lime juice devotee…

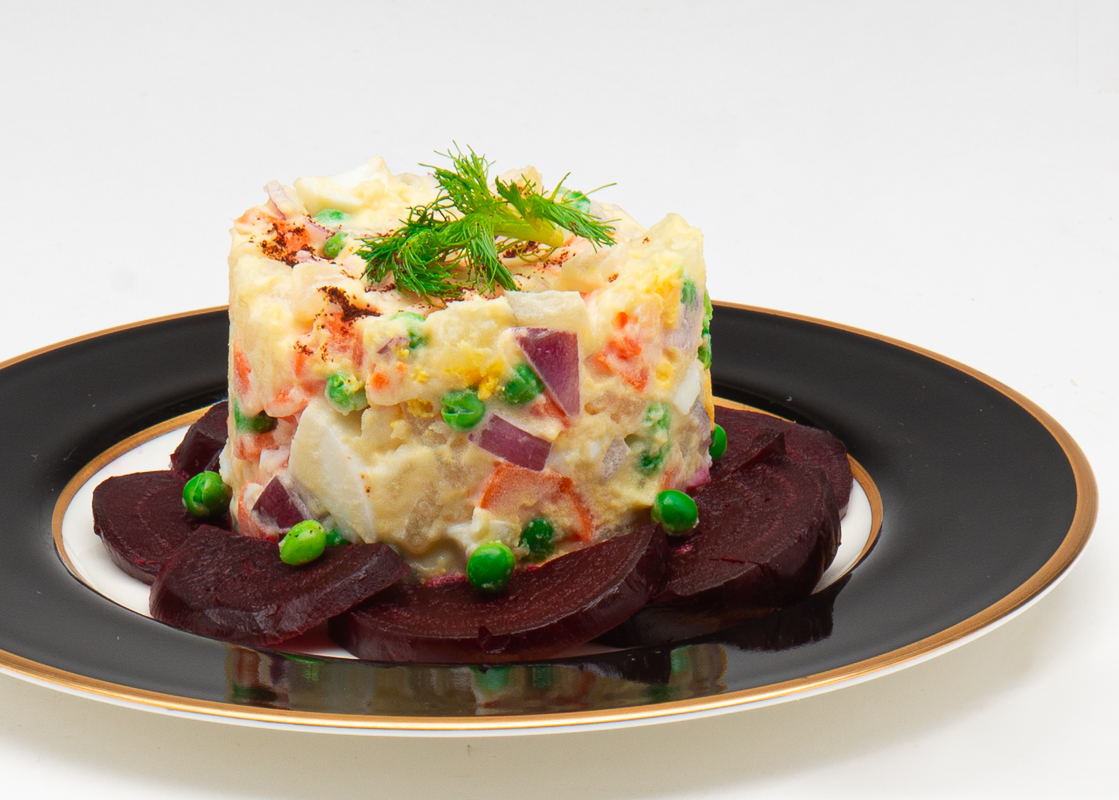
Sweet Memories and Russian Salad

Sweet Memories and Russian Salad

Memories.

This coronavirus crisis has given me a lot of time to explore my food (and other) memories. I imagine you have done a lot of that, too.

On a lazy afternoon recently, I asked myself where I would most like to revisit (and dine) if I had unlimited options. I settled upon a world trip that would take me back to Cairo (Egypt), Berenty Lemur Preserve ( Madagascar),  Srinagar (Kashmir, India), Yangon (Myanmar), the Galapagos Islands (Ecuador)  and Istanbul (Turkey). Whew! That would be some wonderful itinerary! And, just think of the food.

Considering that itinerary, one of my fondest food memories is the restaurant in a magical hotel in the heart of Istanbul, the Pera Palas. Built in the 1892, the hotel served as the eastern terminus for travelers on the Orient Express. Luminaries like Ataturk, Agatha Christie and Ernest Hemingway slept there. I wrote about the hotel in 2015 when I posted a baklava recipe. You can find the post here if you would like to read more about the hotel. (The baklava recipe is pretty spectacular, too.) Clearly, I was pining for the Russian salad even then. Now, five years later, I’ve tweaked  a recipe that is pretty spot on for the Pera Palas’ dish-of-my-dreams.


This salad is a traditional New Year’s dish for Russians. It’s origins can be traced back to a Belgian chef, Lucien Olivier, who operated a popular restaurant in Moscow in the 19th Century. That restaurant, The Hermitage, became the place to dine and enjoy the house’s signature salad, aptly named the Olivier salad.  Olivier struggled to keep the salad recipe secret. His salad featured black caviar, capers, game hens and potatoes as key ingredients and was dressed in a creamy “Olivier dressing.” Recreating the recipe for the dressing became an obsession for restaurant patrons. Reportedly, Olivier’s recipe was stolen by his sous chef who was able to analyze Olivier’s mise en place one day when the chef stepped away and left his personal kitchen (and recipe) vulnerable. Olivier’s supporters, however, always claimed that something was missing in the stolen version. Some said it was Kabul sauce in the dressing. Kabul sauce. Hmmm.

Over the years, the recipe has been recreated in restaurants and households across the world. The Turkish version is called Rus salatsi. That is what we enjoyed at the cavernous Pera Palas dinning room those many years ago.

Here’s the recipe adjusted to fit my memories. I have to confess, though, that Instacart let me down. They couldn’t find that Kabul sauce. Damn.


Russian Salad
Save RecipeSave Recipe

Ingredients

  • 1 pound potatoes
  • 2 large carrots
  • 3 large eggs (hard-boiled with the potatoes and peas)
  • 1/2 C. blanched green peas (fresh or frozen, stay away from canned)
  • 1 large red beet
  • 2 t. salt
  • 1 medium red onion (diced)
  • 1/4 to 1/2 C. chopped kosher dill pickles
  • Fresh Dill (chopped and to your taste)
  • 1/2 C. mayonnaise
  • Paprika or cayenne pepper (for garnish)
  • Extra chopped fresh dill (for garnish)

Instructions

  1. In a large pot of boiling water, boil potatoes, carrots and eggs together with 1 teaspoon of salt. The potatoes and carrots don't have to be peeled at this stage. This will take about 15 minutes--a bit more for the potatoes. (Be careful not to over boil the potatoes. You want the potato cubes in your salad to hold their shape.) Set aside to cool so that you can handle the vegetables and eggs to peel. (I speeded up the cooling by putting my boiled vegetables in a bowl of iced water.)
  2. Cook (or defrost) the peas in the same water that you used for the carrots, eggs and potatoes. Remove from hot water, drain and set aside. Be careful not to overcook the peas. You want them to be firm and beautiful in the salad presentation.
  3. Wrap a large red beet in foil and bake in the oven at 350 degrees until the beet is easy to slice. This will take about 45 minutes. Use a paring knife to stick into the beet to be sure it is baked through.
  4. Peel the cooled hard boiled eggs. Peel the potatoes and the carrots. Cut everything into small cubes. Set aside.
  5. Peel the cooled red beet. Slice into thin slices. Set aside.
  6. Using a large mixing bowl, mix potatoes, carrots, eggs, peas, onion, chopped dill pickles, chopped and fresh dill together. Add the mayonnaise and mix well. Season with salt to your taste.
  7. Arrange the salad decoratively on serving plates or serve in a large bowl. I used the beets as the foundation for the salad by arranging the beets in a pattern on the plate and tucking them tightly around the base of the salad. If I were to serve this salad in a large bowl, I would boil an extra egg and use egg slices and beet slices to decorate the bowl of salad. Alternatively, you can mix the beets into your salad but you will have a less attractive pink-colored salad.
  8. I sprinkled a bit of paprika on the finished dish, but I think a sprinkle of cayenne pepper would be great too. I scattered more chopped fresh dill on top of the salad and I decorated the final dish with a sprig of dill.

Nutrition

Calories

1240 cal

Fat

84 g

Carbs

109 g

Protein

17 g
Click Here For Full Nutrition, Exchanges, and My Plate Info
7.8.1.2
230
https://bluecayenne.com/russian-salad


I looked at a lot of different Russian salad recipes for inspiration. Most recently, I was inspired by this recipe: Ensalada Rusa.

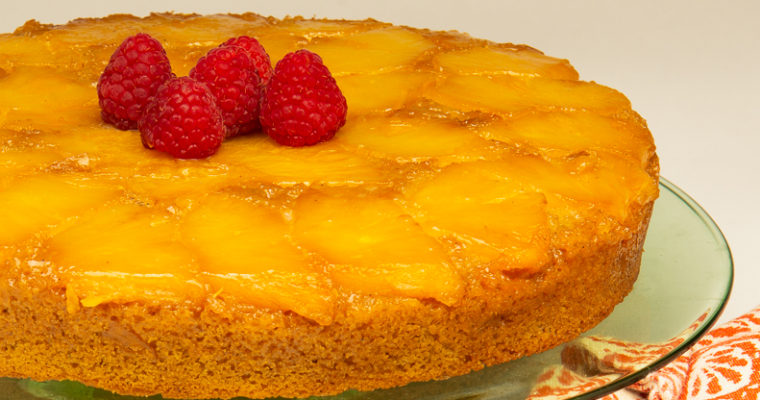
Pineapple Upside-Down Cake

Pineapple Upside-Down Cake

    “When life gives you lemons, sell them and buy a pineapple.” – David Turney       Need a little sunshine in your life? Why not try this beautiful Pineapple Upside-Down Cake? The recipe uses allspice to spice the cake–an interesting spice choice,…

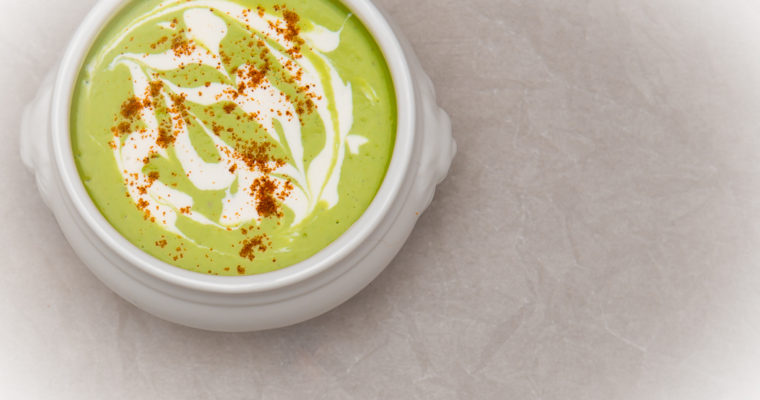
Fit for a King: Fresh Pea Soup

Fit for a King: Fresh Pea Soup

There’s a little history lesson with this post. French kings lived in St. Germain-en-Laye on the outskirts of Paris prior to a transfer of power to Versailles in 1682. St. Germain was renowned for its beauty and its gardens. The last French king to live…

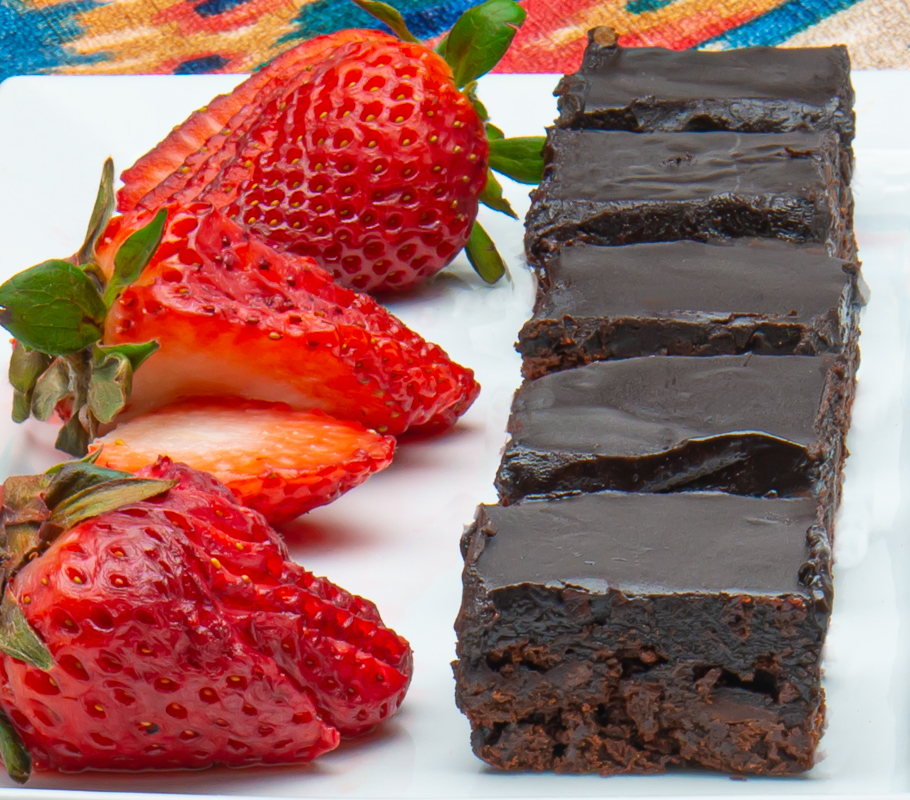
An Homage to Bertha Potter-Palmer: Triple Chocolate Espresso Brownies

An Homage to Bertha Potter-Palmer: Triple Chocolate Espresso Brownies

Raise your hand if you could use a really good brownie about now. Me, too.

These Triple Chocolate Espresso Brownies will knock your socks off. Just reread the recipe title again. Slowly.

Triple. Chocolate. Espresso. Brownies. Whoa!

These brownies incorporate several types of chocolate and a powerful hit of espresso into a decadently-rich dessert. Texture-wise, they fall somewhere between a cakey brownie and a chocolate candy.

Lots of mental health benefits in these brownies, too.

Hats off to Mrs. Bertha Potter-Palmer. She’s the lady who put the brownie on the dessert map.  Reportedly, Mrs. Palmer asked the chef at the Palmer House Hotel in Chicago  to create a portable chocolate dessert. The Palmer House was catering boxed lunches for ladies attending the Columbian World’s Fair Exposition held in Chicago in 1893 and Bertha was looking for a special treat to pack in the boxes. (Bertha had been given the hotel as a wedding gift from her husband. Poor Bertha.)

The Palmer House Brownie was a big hit and quickly became a regular menu item at the hotel. Here is a link to Bertha’s recipe: Palmer House Brownie.  Here is a look at the gorgeous room where guests enjoyed the treat. The brownie, by the way, is still on the menu at $12 a pop.


Today, you can, of course, find many variations on the original Palmer brownie. This one is particularly delicious. Somehow I think Bertha would approve.


Triple Chocolate Espresso Brownies
Save RecipeSave Recipe

Ingredients

    For the Brownies
  • 1/4 C. all-purpose flour
  • 1/4 C. dutch-processed cocoa powder
  • 2 t. instant espresso powder (I used King Arthur brand)
  • 1/4 t. kosher salt
  • 1/2 C. unsalted butter (cut into cubes)
  • 2 oz. unsweetened chocolate (chopped)
  • 1 1/4 C. granulated sugar
  • 2 large eggs (at room temperature)
  • 1 t. vanilla extract
  • 1/2 C. chocolate chips
  • For Chocolate Glaze
  • 6 oz. dark chocolate (50-70%) (chopped)
  • 1/4 C. heavy cream
  • 1/4 C. unsalted butter (cubed)
  • 1 T. corn syrup
  • 1 t. instant espresso powder

Instructions

  1. Preheat oven to 350 degrees F. and prepare an 8 by 8 inch square baking pan by lining it with parchment and lightly buttering the paper.
  2. Put flour, cocoa powder, salt and espresso powder into a medium bowl and whisk these dry ingredients together. Set aside.
  3. Put butter and chopped chocolate in a saucepan over low heat. When the mixture is melted, remove the pan from the heat and stir in the sugar until it is partially dissolved and forms a grainy paste. Let the mixture cool for a few minutes and then whisk in the eggs one at a time. Completely mix the first egg into the batter before adding the second egg. At this point, you need to continue whisking the batter for 1 to 2 more minutes until the batter is smooth and shiny.
  4. Whisk the vanilla into the batter.
  5. Add the dry ingredients to the batter and fold in until the dry ingredients are just incorporated. Fold in the chocolate chips.
  6. Scrape the batter into your prepared 8 by 8 inch pan. Bake for approximately 35 minutes. When the brownies are done put the pan on a rack. Let cool completely or refrigerate overnight.
  7. Prepare the glaze by combining chocolate, cream, butter, corn syrup, and espresso in a saucepan over low heat. Stir until the chocolate is completely melted and the mixture is smooth. Pour over the brownies and spread with a spatula to ensure that you have an even layer. Tap the pan of glazed brownies on your counter top to help the glaze settle and to remove any air bubbles. Cool for at least 1 hour and then place the brownies (covered) in your refrigerator so that the glaze will be completely set before trying to cut the brownies into individual portions.
  8. When you are ready to cut and serve the brownies, remove the brownies from the refrigerator. Using the parchment paper as handles, remove the complete block of brownies from the pan. Use a large knife to slice the brownies into 16 squares. (I ran mine under hot water and then dried ithe knife each time I was ready to make a cut.)

Nutrition

Calories

4791 cal

Fat

177 g

Carbs

730 g

Protein

33 g
Click Here For Full Nutrition, Exchanges, and My Plate Info
7.8.1.2
227
https://bluecayenne.com/an-homage-to-bertha-potter-palmer-triple-chocolate-espresso-brownies


This recipe is adapted from one on the Love and Olive Oil site here.

Banana Bread–Juliet’s Plan B

Banana Bread–Juliet’s Plan B

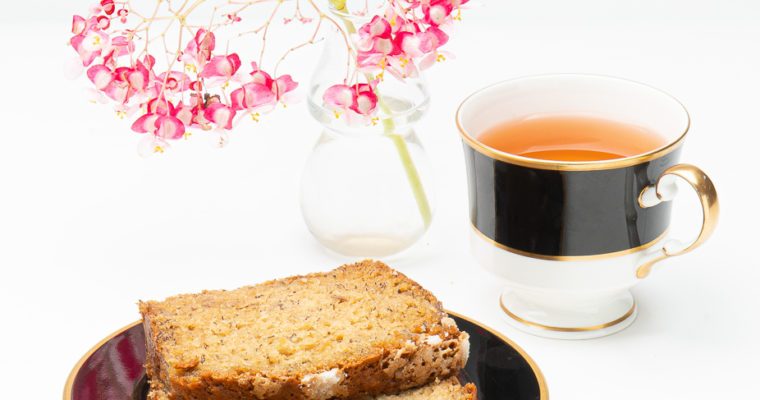
  When life gives you lemons… No! Wait. I already used that line in the last post. Let’s start over. Here’s a better (and more gentle) lede: A hot cup of tea. A warm slice of banana bread. Golden sunshine streaming through the window and…

Looking for a Rainbow Right Now? Beet Salad

Looking for a Rainbow Right Now? Beet Salad

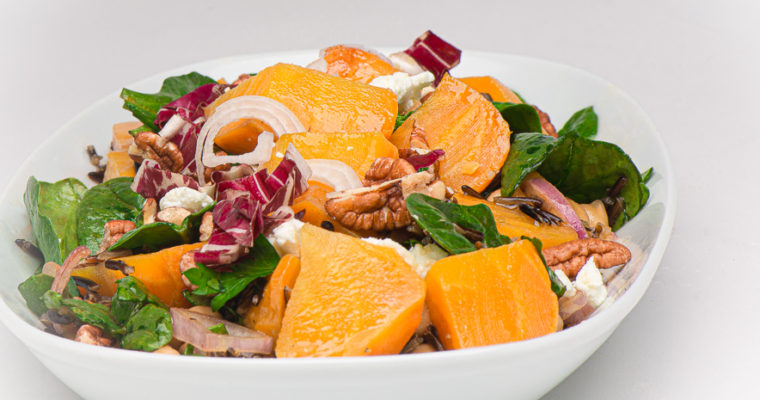
Need a little pick-me-up? This stunning beet salad will make you smile to the very last bite. The slightly-sweet vinaigrette dressing is so good that you will want to experiment with it on other dishes, too. Another bonus, you can easily make this salad your…

When Life Gives you Lemons…Make Lemon Cake

When Life Gives you Lemons…Make Lemon Cake

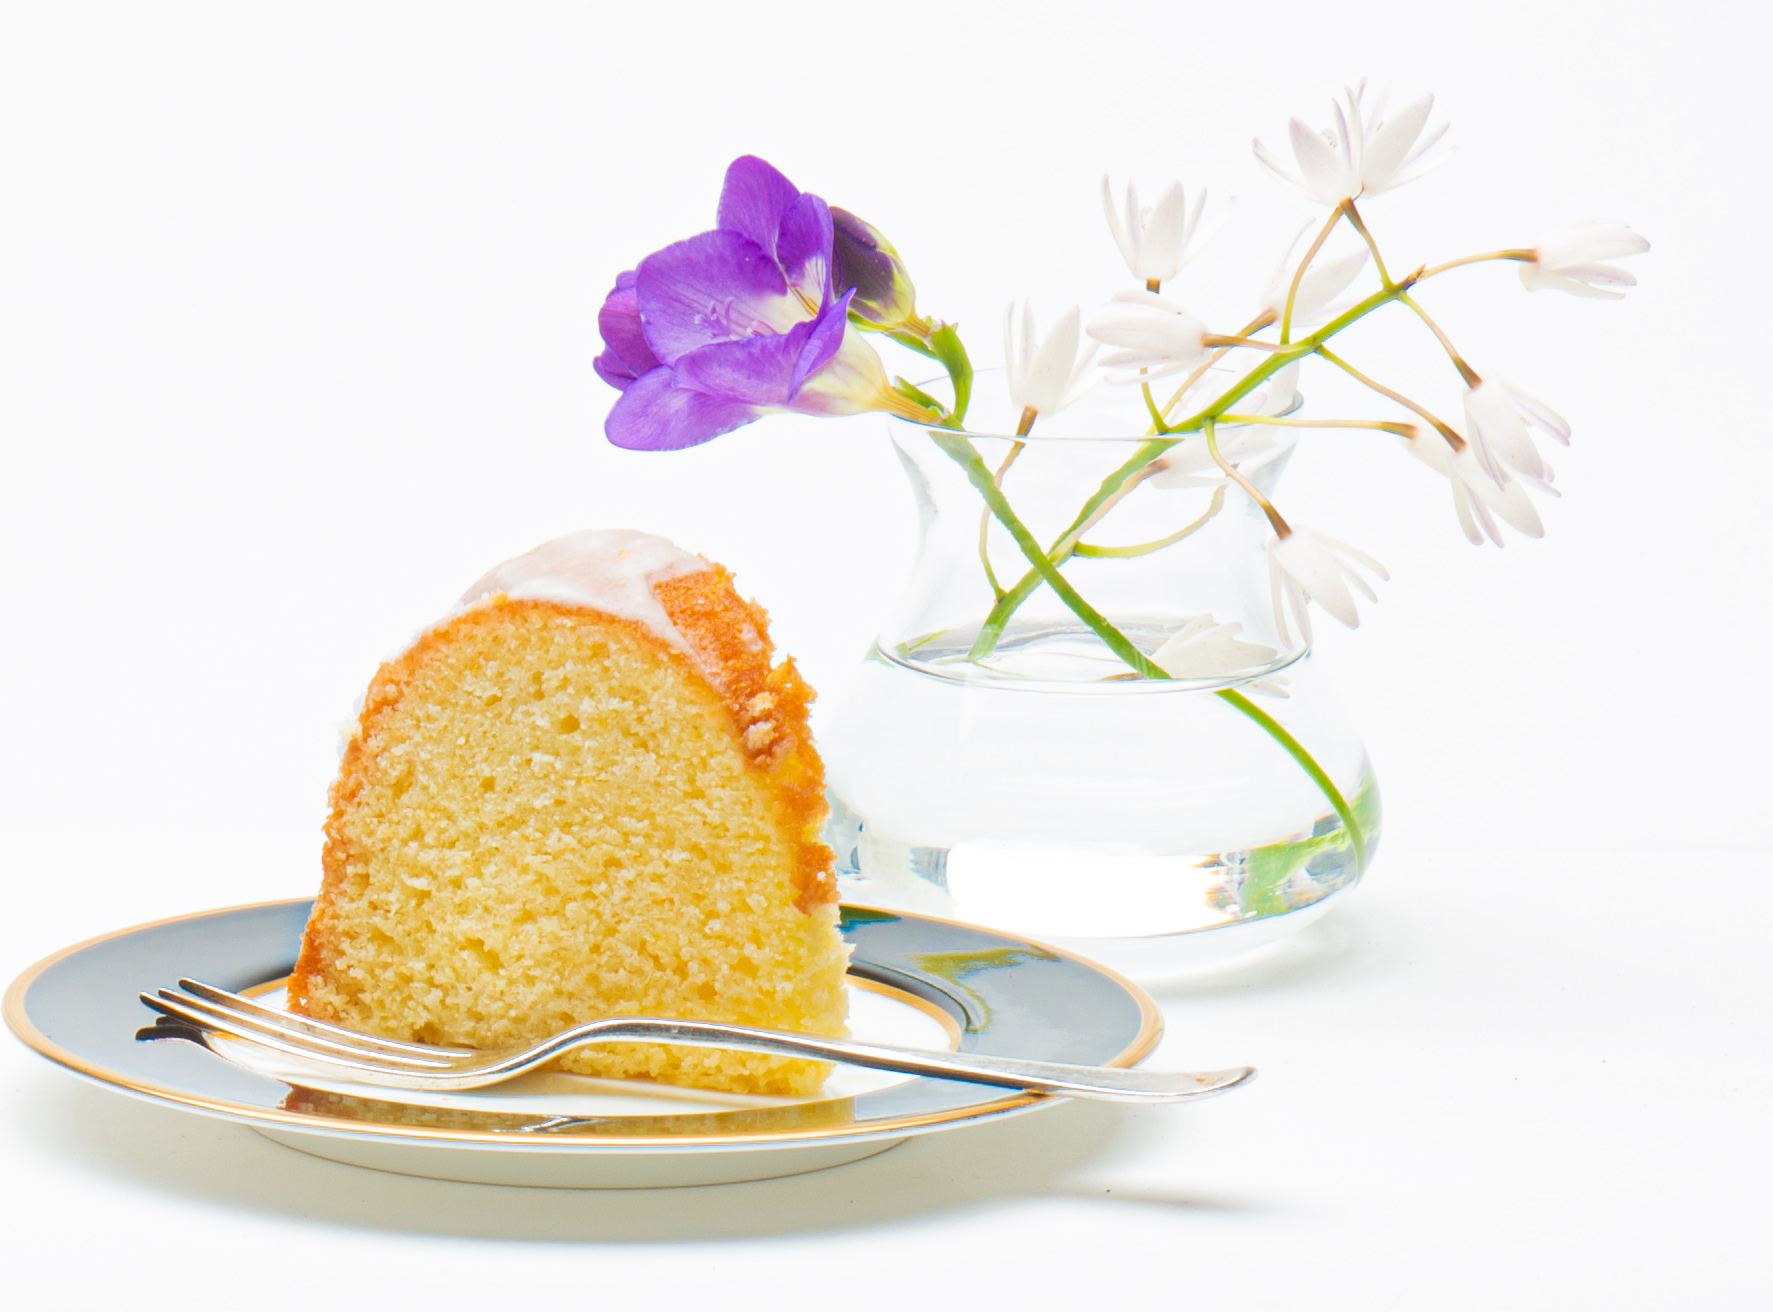
I know.  I know. It’s ANOTHER lemon cake.

I guess I’m discovering that baking lemon cake is my superpower right now.

And anyway, you can never have too much lemon cake. Am I right about this?

This is a very good one–delicate and full of flavor. You’ll want to tuck this recipe away somewhere safe.

In this case, a neighbor gave me a bag of lemons and I had this recipe marked to try. But, in these days of ingredient shortages, I found that the recipe called for cake flour and my cupboard was bare. Since making a supermarket run is no longer an option for me, I turned to the Internet where I found numerous sites that said that you could take a cup of all-purpose flour, remove two tablespoons of the flour from the cup, add two tablespoons of cornstarch and sift sift sift (sift sift)  five times to replicate cake flour. The five siftings were kind of a bore but the suggestion worked and I got this light and delicious cake as my reward.

Here is the recipe.

I hope you stay safe and find comfort in your kitchen.


Lemon-Buttermilk Pound Cake
Save RecipeSave Recipe

Ingredients

    Cake
  • 2 3/4 C. cake flour
  • 1/2 t. baking soda
  • 1/2 t. kosher salt
  • 3/4 C. buttermilk
  • 3 T. lemon juice
  • 5 large eggs (room temperature and separated)
  • 2 C. plus 3 T. white sugar
  • 2 T. grated lemon zest
  • 13 T.(1 1/2 sticks plus 1 T.) (room temperature and divided-I used unsalted butter with a generous pinch of kosher salt)
  • Glaze
  • 1 C. powdered sugar
  • 1 or 2 T. lemon juice (to your taste)
  • Coconut milk to thin the glaze to the consistency you want

Instructions

  1. Preheat oven to 325 degrees F. and thoroughly grease a bundt pan with 1 T. of softened butter. (Use a pastry brush to help grease your pan by brushing the softened butter into the crevices on the pan.) Adjust the baking rack in your oven to a middle position.
  2. Whisk flour, baking soda and salt together in a bowl. Set aside.
  3. Combine buttermilk and lemon juice. Set aside.
  4. Using the whisk attachment on your stand mixer, whisk room temperature egg whites at medium speed for about a minute. You want the whites to be light and foamy. Keep the mixer running and slowly sprinkle 3 T. of sugar into the whites. Continue to whisk until the mixture turns thick and glossy and will hold soft peaks. This will take about 1 minute. Gently scoop out the egg white mixture and put it into a bowl and set aside.
  5. Change the tool on your mixer to the paddle attachment. Put 2 C. sugar and lemon zest into the stand mixer bowl. Mix the sugar and the lemon zest for about 1 minute. You want to thoroughly mix in the zest and you want the mixture to begin to clump. Add the remaining 12 T. of room temperature butter and continue to mix until the ingredients are well-combined and begins to form around the paddle attachment. You should be using a medium-low setting on your mixer. Next, raise the speed of your mixer to medium-high and beat the mixture until it turns pale and is a bit fluffy. This will take 3-4 minutes.
  6. Lower mixer speed to low and add egg yolks one by one, mixing and scraping down the sides of the bowl after each addition. Once the egg yolks are well-incorporated into the batter, slowly add about 1/3 of the flour mixture. Mix on low. Add 1/2 of the buttermilk mixture. Mix on low. Repeat ending with the last of the flour mixture.
  7. Fold 1/3 of the whipped egg whites into the batter, mixing thoroughly. Then, add the rest of the whipped egg whites folding the whites carefully into the batter to keep from losing too much of the air in the whipped whites. Do not over mix. You only want the whites to be lightly mixed with the batter in this last step.
  8. Pour the batter into your prepared bundt pan. Level the top of the batter with a spatula. Bake at 325 degrees F. for 50 to 60 minutes. Halfway through the baking, rotate the bundt pan in your oven to allow for more even baking.
  9. When the cake is done (it should be firm when pressed and should spring back when pressed), remove it from the oven and place on a wire rack to cool for about 10 minutes. Next, run a knife around the outside of the cake to loosen it from the pan. Also, run the knife around the center tube of the bundt pan to loosen it from that part of the pan. Invert the cake onto a serving plate.
  10. Prepare the glaze by combining powdered sugar, lemon juice and coconut milk. Drizzle with lemon glaze.
  11. Cool cake completely before serving.
7.8.1.2
224
https://bluecayenne.com/when-life-gives-you-lemons-make-lemon-cake


This recipe was adapted from one that appears in The Milk Street Cookbook. You can find the book here.


Oldies But Goodies: Lemony Turmeric Tea Cake

Oldies But Goodies: Lemony Turmeric Tea Cake

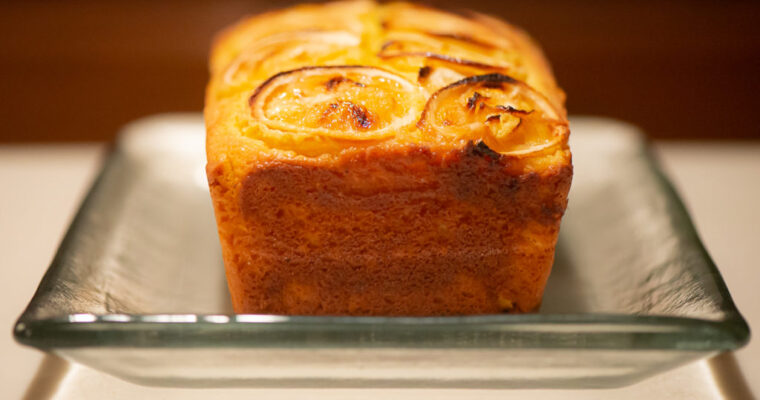
Every month Blue Cayenne features one post from our archive of more than four hundred recipes. Here is a great little cake recipe: Lemony Turmeric Tea Cake. You don’t want to miss this great recipe…again. Want to dive deeper into our recipe archive? Just click one of…