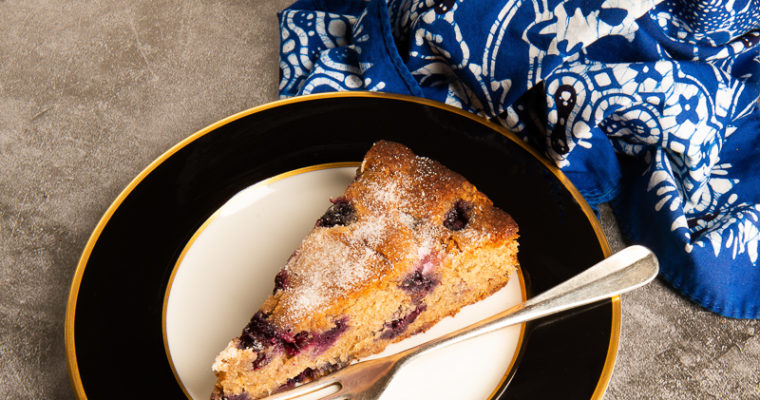
Almond and Blueberry Cake With Cinnamon
This is a great little snacking cake. There are lots of healthy blueberries in the cake and it’s sprinkled with sugar just before baking to give the finished cake a delightful sugar crunch as you bite into it. Remember that blueberries, rich in antioxidants, are…

 Save Recipe