We owe a big thank you to H. David Dalquist. He invented the bundt pan for the Nordic Ware Company in 1950.
As the story goes, Mr. Dalquist, a co-owner of Nordic Ware in Minneapolis, Minnesota, was approached by two women from a local Jewish women’s service organization, Hadassah. They were looking for a heavy pan that would bake the dense Eastern European-style cakes they remembered fondly from their youths. They brought Mr. Dalquist a ceramic kugelhopf pan as an example and he used it as the prototype for his first cast aluminum bundt pans. He coined the name for the pan from the German word for community, bund, and added a “t.” The first pans were modest sellers for the company.
Then—bam! (as Emeril would say)—the market for bundt pans exploded thanks to Texas home baker Ella Helfrich. That year her Tunnel of Fudge Cake won second place in the annual Pillsbury Bake Off. Suddenly, every baker wanted to bake a bundt! Soon, Nordic Ware was manufacturing 30,000 bundt pans a day to keep up with demand. Today, it is estimated that there are more than 70,000,000 bundt pans in use in American kitchens.
The Nordic Ware Company, a privately held family business, is a real American entrepreneurial success story. Their products continue to be made almost entirely in their American factory in St. Louis Park, a suburb of Minneapolis. Their company employs hundreds of American workers and is renown for producing quality products. Their bundt pans carry a lifetime guarantee.
Here is a short video showing the technique for baking a bundt in a Nordic Ware pan. The pan, by the way, is the company’s 60th Anniversary pan, manufactured as an exact replica of their original 1950 pan.
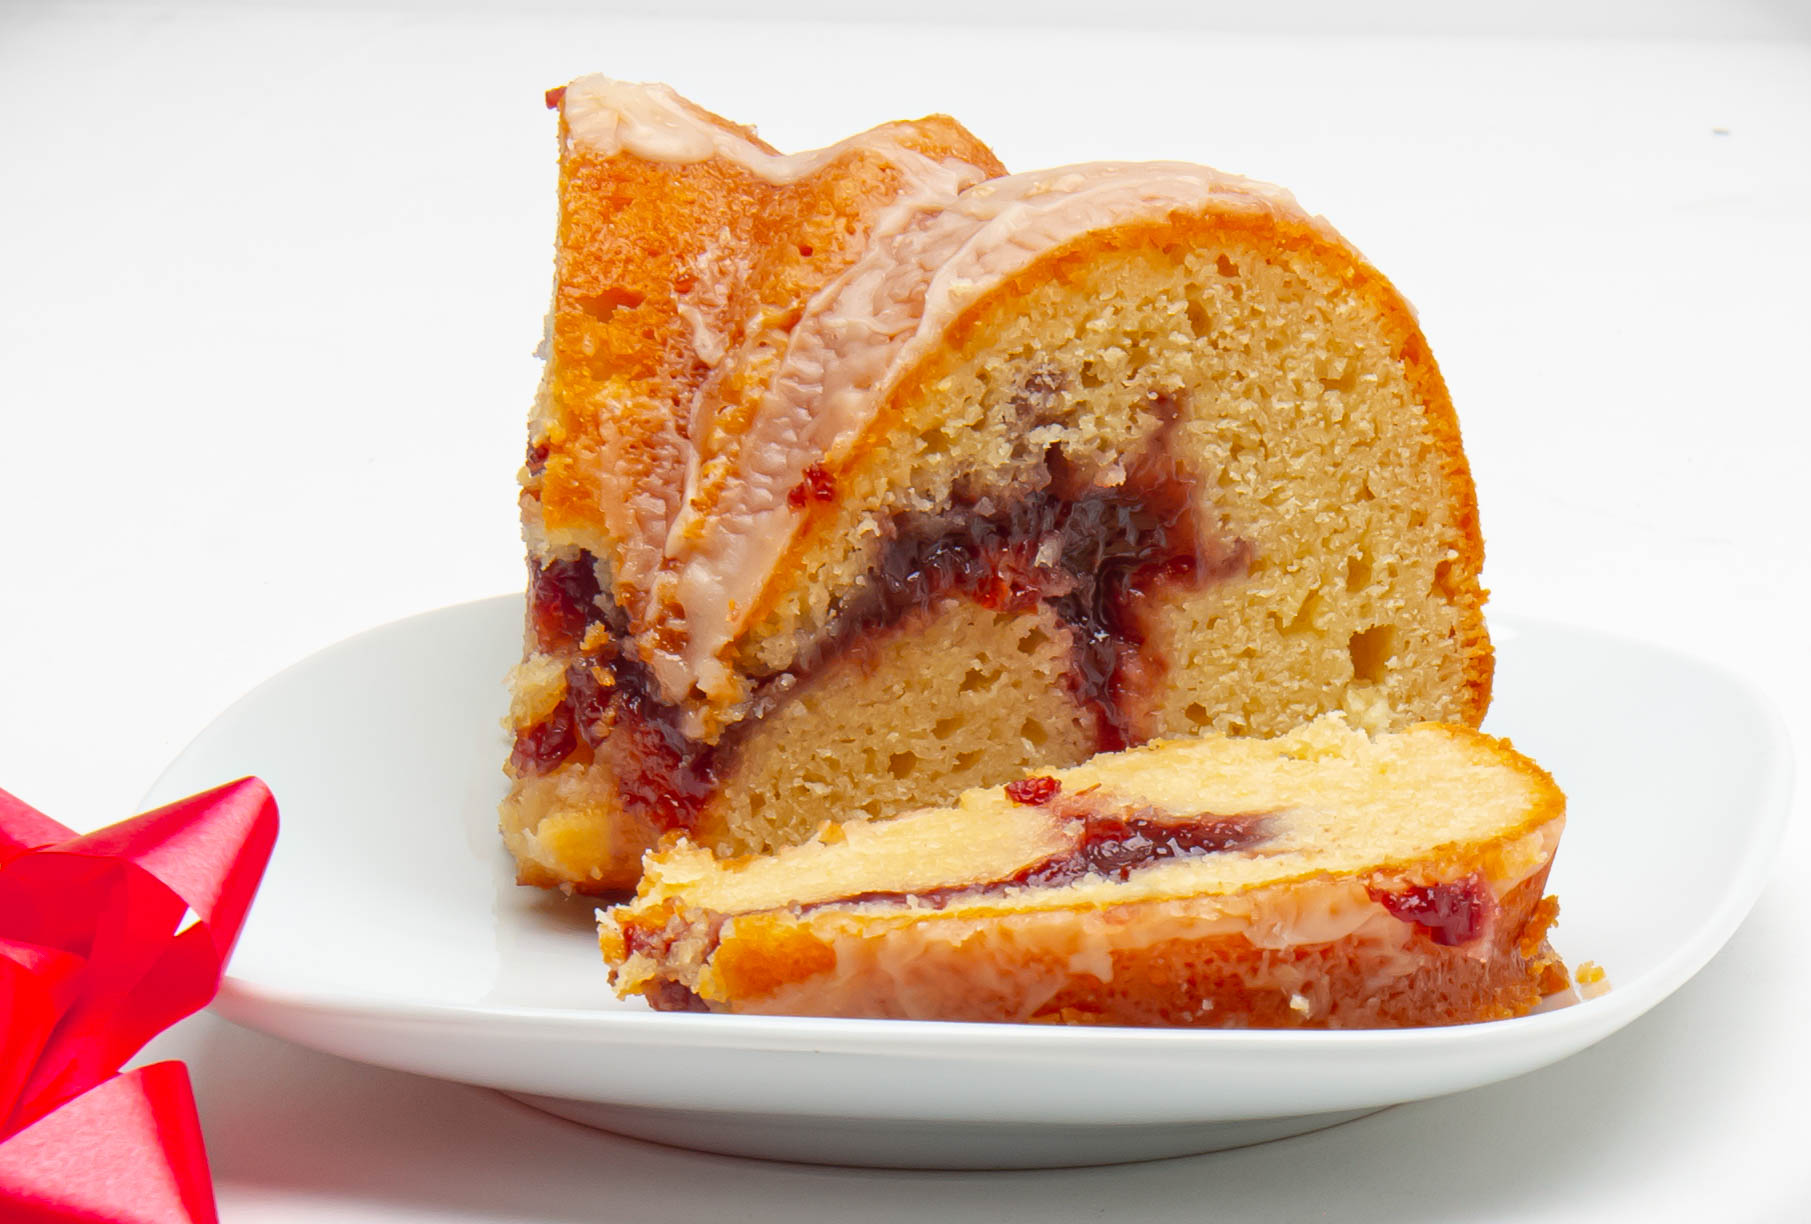
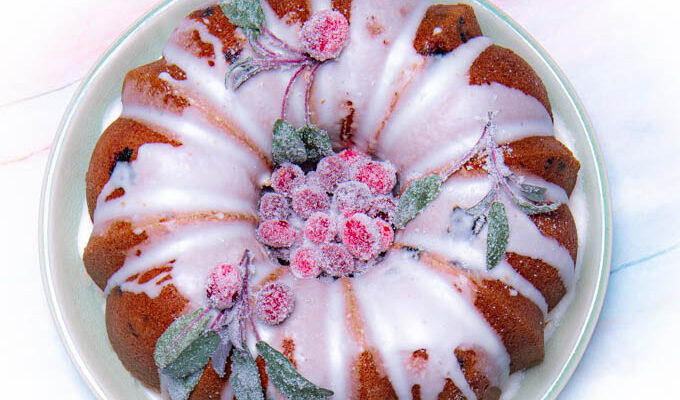
Here is a great bundt cake recipe for a Bundt de Noel.
This cake is billed as a breakfast cake. I’ve been testing it–a lot. I can personally attest to the fact that it is a great cake for any time of the day or for that late night snack craving that rolls you out of bed at 3 a.m.
Bundt de Noel
Ingredients
- For the Cake
- 1 jar (10 to 13 ounces) strawberry or sour cherry preserves
- 14 1/2 oz. fine pastry flour
- 1 T. baking powder
- 3/4 t. fine sea salt
- 7 1/2 oz. unsalted European-style butter
- 10 1/2 oz. sugar
- 12 oz. sour cream
- 3 large eggs (beaten)
- 4 t. vanilla extract
- For the Glaze
- 6 oz. confectioners' sugar
- 2 T. whole milk (extra as needed)
- 1 1/2 t. finely- grated lemon zest
- 1 1/2 t. fresh lemon juice
- 1/2 t. vanilla extract
Directions
- Step 1 To Make The Cake
- Step 2 Strain the preserves. I used Bon Maman brand preserves. Spoon the preserves into a strainer and put strainer over a bowl to catch the liquids that strain from the preserves. Stir the preserves occasionally to help the preserves liquify and strain. In the end, you will need about 3/4 C. of thick preserves for your cake. Set aside.
- Step 3 Preheat oven to 325 degrees F. and put a rack in the lower-middle part of your oven. Prepare your bundt pan by greasing it THOROUGHLY. This is very important to ensure that your baked cake will release from the pan cleanly at the end of baking. I found that brushing melted butter onto my bundt pan works very well.
- Step 4 In a large bowl, whisk flour, baking powder and salt together. Set aside.
- Step 5 Melt the butter in a saucepan over medium heat. Add the sugar. Stir the butter and sugar mixture until the sugar begins to melt. You do not, however, want to allow the butter to bubble. Remove from heat. Set aside for a few minutes.
- Step 6 Whisk sour cream, eggs and vanilla together until combined. Ladle some of the warm butter into the sour cream mixture and whisk to combine. By adding the butter slowly and a small amount at a time, you are warming the egg mixture but not allowing the eggs to cook. Add the remaining butter mixture and stir to thoroughly combine.
- Step 7 Pour the liquid mixture into the dry ingredients and, using a spatula, fold the ingredients together until you have a thick batter. Be sure not to overmix at this step. It is OK to have tiny lumps in the batter.
- Step 8 Spoon 3/4 of the batter into your greased bundt cake pan. Use the back of the spoon to smooth the batter in the pan.
- Step 9 Use a moistened finger to trace a trough in the batter about half way between the outside of the pan and the center cone of the pan. The trough should be circular and extend all the way around the pan so that your cake will have a consistent tasty ribbon of prerserves in each slice. Spoon the strained preserves into the trough. Spoon the remainder of the batter into the pan to cover the preserves. Use the back of a spoon to smooth the batter on top of the preserves.
- Step 10 Bake the cake for about 50 minutes in the preheated 325 degree F. oven. Your cake will be done when it has risen, the top is a light golden brown, and the center springs back when pressed. You can also use a wooden skewer to test the cake for doneness. The skewer should come out clean.
- Step 11 Remove the baked cake from the oven and let it cool on a wire rack for about 10 minutes before you invert it onto a rack. Let the cake cool for about an hour before pouring on the glaze.
- Step 12 To make the glaze
- Step 13 Whisk confectioners’ sugar and milk together until smooth. I found that my confectioners’ sugar was pretty lumpy and I had to be careful at this step to ensure a smooth glaze. Stir in lemon zest, lemon juice and vanilla. You want your glaze to be pourable. If it is too thick, add a bit more milk. If it is runny, add more confectioners’ sugar.
- Step 14 Line a rimmed baking sheet with foil or plastic wrap. Set a rack on top of the baking sheet. Pour the glaze over the cake. Allow the glaze to harden for about 10 minutes before serving.
This recipe was adapted from one on the Anson Mills site. You can find the original recipe here.


