Tag: Blue Cayenne Food and Photography

Three-ingredient Almond Crackle Cookies and A Little Side Eye From Juliet

Three-ingredient Almond Crackle Cookies and A Little Side Eye From Juliet

It is turn-on-the-air conditioner hot here in Huntington Beach. Even tiny Juliet who thrives on two long walks a day just stares at me in disgust when I pick up her leash. Here she is giving me some too-hot-to-walk side eye. It’s certainly not cooking…
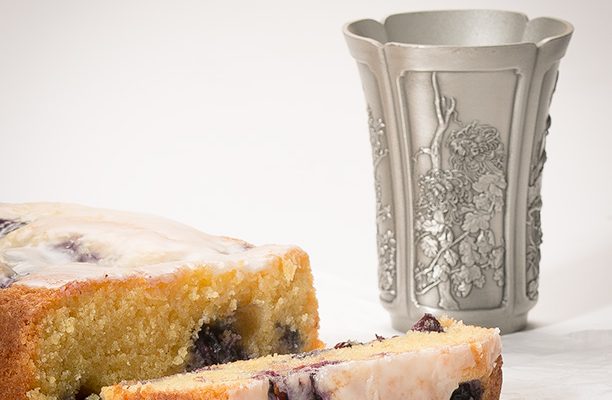
Blueberry, Lemon and Almond Cake

Blueberry, Lemon and Almond Cake

Yotam Ottolenghi. <sigh> This Ottolenghi recipe was featured recently on the NY Times food site and it is wonderful. The crumb is light and the almond flour gives this little cake a delightful texture. This cake is so good, in fact, that it is almost…

Asian Zucchini Noodle Salad

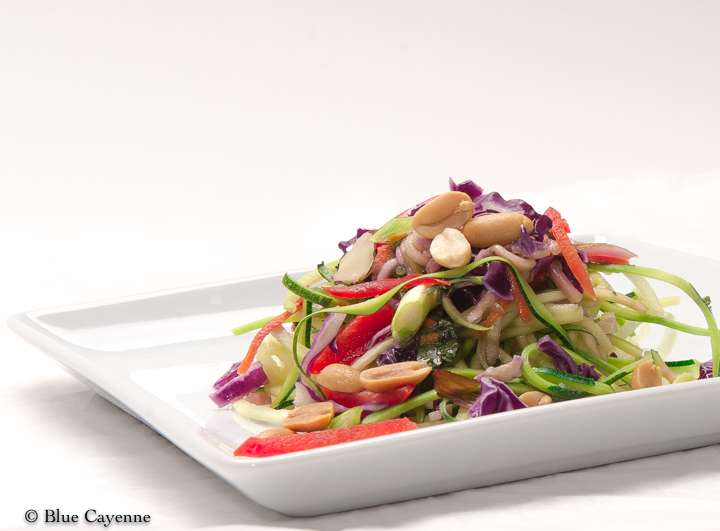
Asian Zucchini Noodle Salad

Spiralizers. You’ve probably heard of them.

Toaster-sized spiralizer appliances take boring old potatoes, beets and zucchini–you know, the vegetables that come to you in the elegant shapes that Mother Nature intended– and turn them into noodles. (Forgive my snark.)

Nevertheless, I confess that I’m a cooking gadget collector and I do own a Paderno spiralizer. Like a lot of the other kitchen gadgets that have caught my eye (Does anyone else out there have onion goggles? I didn’t think so.),  I haven’t used it much.

This summer, I decided that I would give the spiralizer a fair try after my neighbor raved about the healthy spiralized foods that her daughter, Randlyn, was turning out (and enjoying) in her kitchen.

Bon Appetit Magazine, by the way, did an interesting  piece on spiralizers. The BA writer focused on the psychology of spiralizing vegetables arguing that changing the shape of the vegetables tricks our minds into eating more of those healthy foods. More zucchini. Fewer carbs.

And, there may be something to that argument. I remember one summer when my family, crammed into an unairconditioned VW bug and traveling 2000 grueling miles to visit relatives in rural Mississippi, stopped at a drive-in restaurant somewhere in the wilds of Eastern Texas where French fried potato spirals were served in parchment-lined red plastic trays. Your order came with a decanter of vinegar to sprinkle over your potatoes.  I still remember the novelty of that presentation, and, here I am a gazillion years later comtemplating spiralizing potatoes. (Bon Appetit Magazine on spiralizers ).

So, I’m giving spiralizing the good old college try (CSULB 1968) this summer. Here is a recipe for a pretty (and delicious) Asian zucchini noodle salad. This salad has all sorts of textures going for it and the piquant sesame-oil-flavored dressing is wonderful.

You will find the link to the original recipe from which this recipe was adapted here: Simply Recipes’ Asian Zucchini Salad .

Thanks, Randlyn, for the nudge.


Yields 4 Servings

Asian Zucchini Noodle Salad
Save RecipeSave Recipe

Ingredients

  • Vegetables for the Salad
  • 3-4 zucchinis
  • 1/2 t. salt
  • 1 1/2 C. thinly-sliced and roughly-chopped red cabbage
  • 1 large carrot (grated)
  • 1/2 large red bell pepper (thinly-sliced and cut into 1-inch segments)
  • 2 green onions (thinly-sliced on the diagonal)
  • 1/2 bunch cilantro (chopped)
  • Chopped peanuts for garnish
  • Dressing
  • 1/3 C. seasoned rice vinegar
  • 2 T. olive oil
  • 1 1/2 t. dark roasted sesame oil
  • 1 clove garlic (minced)
  • Pinch of red pepper flakes

Instructions

  1. Spiralize the zucchini. You should have about five cups of zucchini noodles for this recipe. As you spiralize the noodles, you will want to cut them into manageable lengths. Place the spiralized zucchini noodles in a large bowl and set aside.
  2. Combine cabbage, carrot, bell peppers, onions and cilantro in a bowl. Set aside.
  3. Whisk rice vinegar, olive oil, dark sesame oil, minced garlic and red pepper flakes in a bowl. Pour this dressing over the cabbage mixture and let the mixture marinate for an hour or so.
  4. Arrange the marinated cabbage mixture over the top of the zucchini noodles. Spoon a couple of spoonfuls of the dressing over the dish. Garnish with chopped peanuts and additional cilantro.

Notes

The original recipe called for sprinkling salt over zucchini noodles to draw out some of the moisture in the zucchini. I liked the crunch of the zucchini noodles fresh out of the spiralizer and skipped that step.

7.8.1.2
70
https://bluecayenne.com/asian-zucchini-noodle-salad

Peanut Stew with Ginger and Tomato

Peanut Stew with Ginger and Tomato

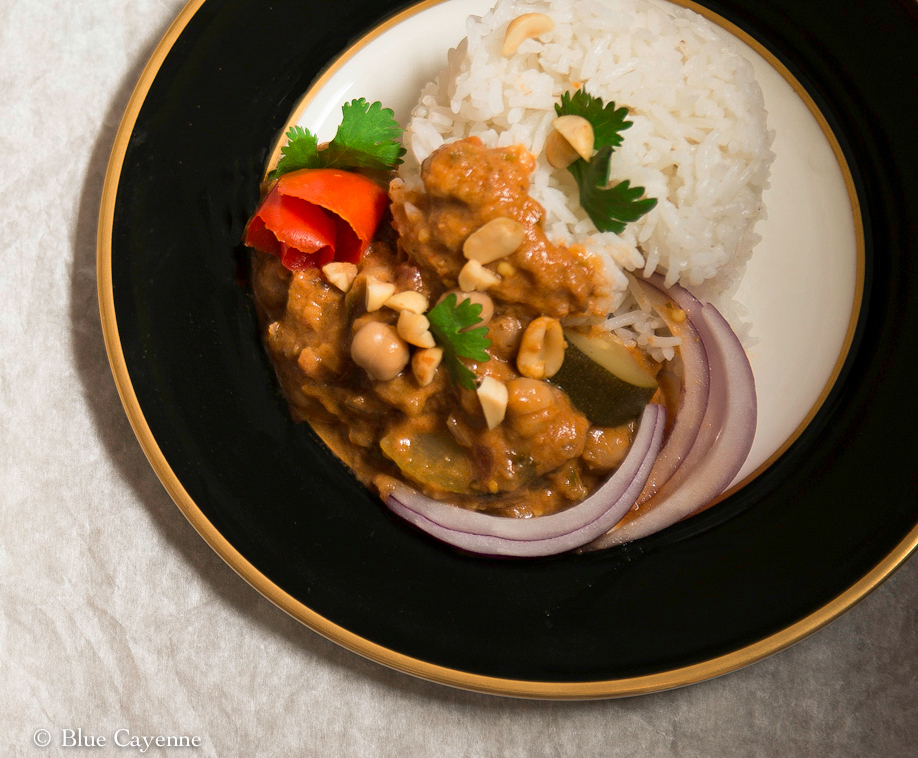
This wonderful Julia Moskin recipe for Spicy Peanut Stew with Ginger and Tomato recently came across my desk and flooded my world with all kinds of happy memories. Talk about an endorphin rush! When my husband and I were traveling, we were fortunate to make…

Salad Days!  Summer Squash Carpaccio with Arugula

Salad Days! Summer Squash Carpaccio with Arugula

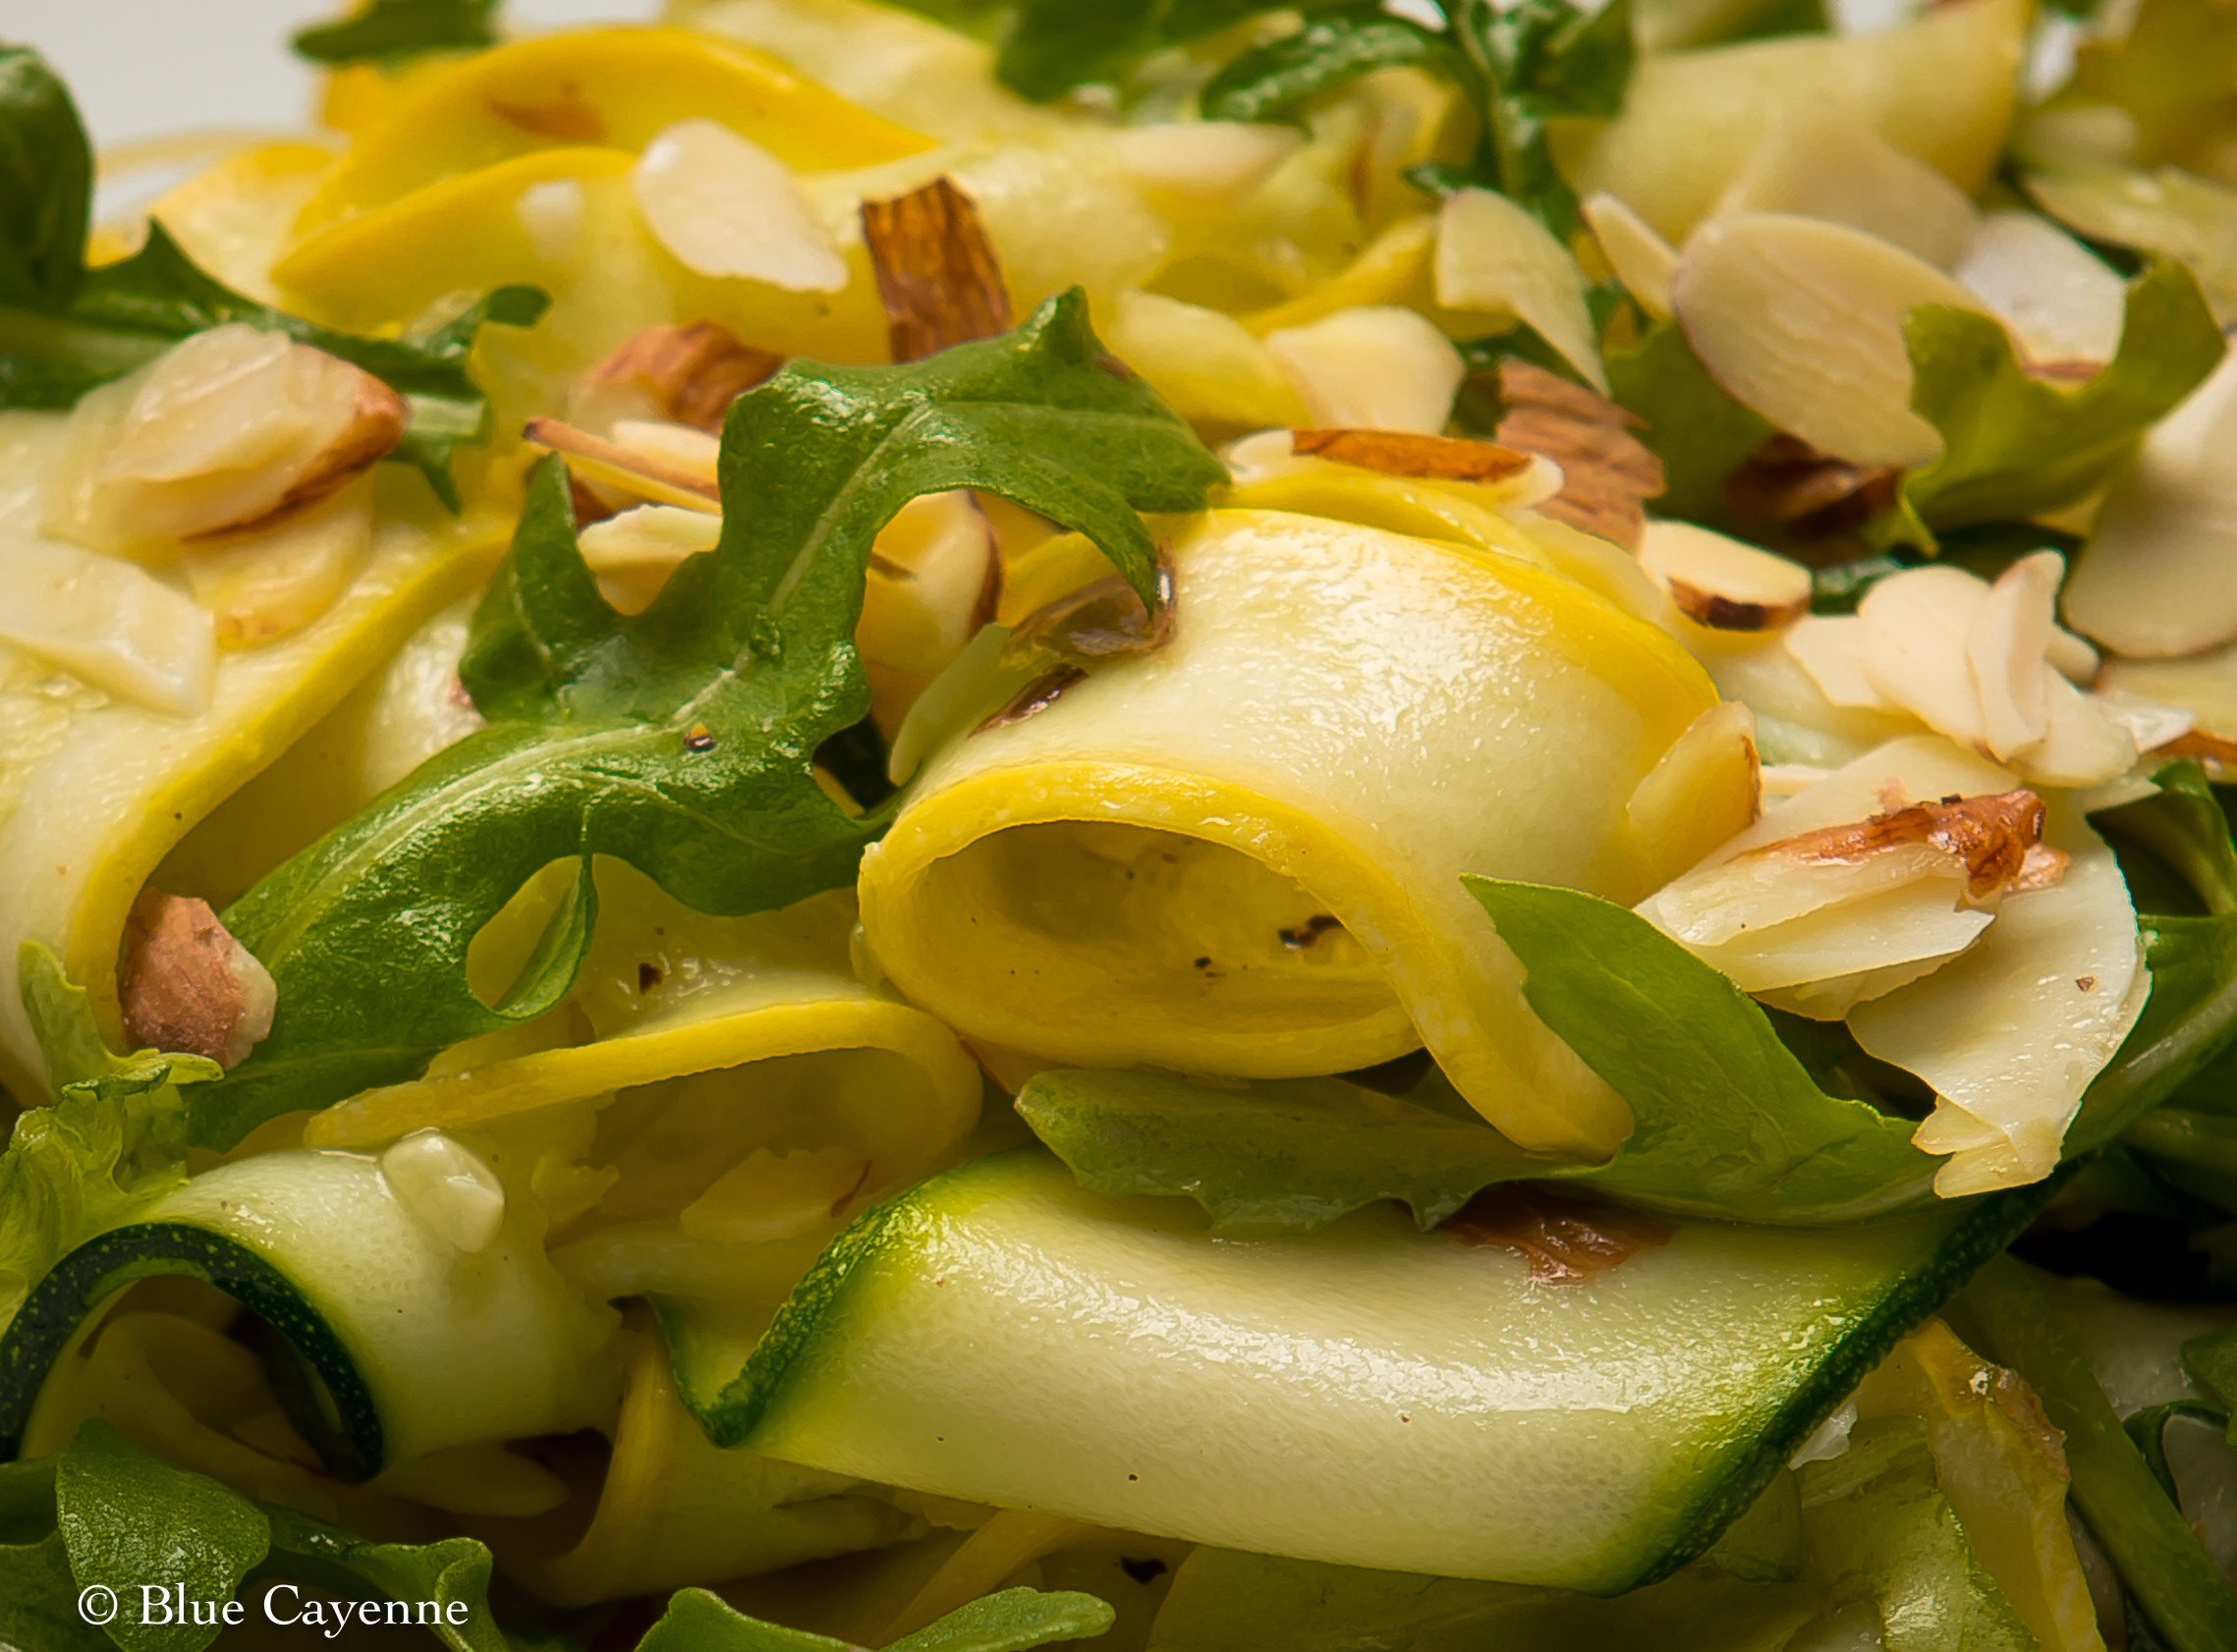
    With the weather heating up here in Southern California, these are salad days to be sure. A digression: If you’ve ever wondered about that expression, “salad days” has Shakespearean origins. In Antony and Cleopatra, a rueful Cleopatra laments her youthful inexperience and recklessness– “…my salad…

Butternut Squash and Mushroom Wellington

What do a Pavlova, a bowl of cherry Garcia and a Margarita have in common? You got that one right! They are all foods named after a famous person. (The Pavlova meringue confection is named after the famous Russian ballerina Anna Pavlova. Cherry Garcia is named after, well, Jerry Garcia. The Margarita is named after Rita Hayworth.)

Here is a riff on another tribute food–the Wellington. The original dish, the beef Wellington, was named after the Dublin-born British military hero and Prime Minister, The Duke of Wellington–Arthur Wellesley to his friends. (Wellington, you will remember, was the hero of Waterloo, the fateful battle that inflicted a final crushing defeat on Napoleon and sent him into a last brooding exile in the mid-Atlantic.) A beef Wellington, if you are unfamiliar with it, is a decadent beef tenderloin slathered in foie gras and duxelles and wrapped in a tender-crispy puff pastry. Here is a photo of the hunky Wellesley:

In reality, the beef Wellington was probably an in-your-face rebranding of a French dish, the filet de boeuf en croute. Take that, France! When I read that bit of history, I was reminded of our own “Freedom Fry” moment. Remember when Congressman Bob Ney (R-Ohio) got himself all wrapped up in a tizzy and renamed the French fries in the Congressional cafeteria freedom fries? ( He was furious that the French refused to back our invasion of Iraq. French President Jacques Chirac argued that the U.S. invasion was premature and that U.N. weapons inspectors should be given more time to determine if Iraq did indeed possess weapons of mass destruction.)

Here is my adaptation of Melissa Clark’s butternut squash and mushroom Wellington. (http://Melissa Clark’s Butternut Squash and Mushroom Wellington)

By the way, Rita Hayworth’s real name was Margarita.

Yields 6-8 Servings

Butternut Squash and Mushroom Wellington

45 minPrep Time

30 minCook Time

1 hr, 15 Total Time

Save RecipeSave Recipe

Ingredients

  • 4 T. butter
  • 1 1/4 lb. butternut squash (peeled and cut into 1/2 inch cubes)
  • 1 t. maple syrup
  • 1/2 t. chopped fresh thyme
  • 1/8 t. smoked sweet paprika (or regular paprika)
  • 1/2 t. kosher salt (or more to taste)
  • 2 garlic cloves (finely chopped)
  • 1 large shallot (finely chopped)
  • 3/4 lb. cremini mushrooms (roughly chopped)
  • 1/3 C. dry white wine
  • 1/4 t. ground black pepper
  • 2 T. chopped parsley
  • Flour
  • 1 (14 to 16 ounce) package of puff pastry
  • 1 C. crumbled goat cheese
  • 1 egg (whisked with 1/2 t. water)

Instructions

  1. Preheat oven to 400 degrees F. Line a large baking sheet with either parchment or a Silipat mat.
  2. Divide your butternut cubes into two portions. Melt 1 T. butter over a medium-high heat. Put one portion of the butternut cubes into the hot skillet with the butter. The butternut squash cubes should lay on the pan in a single layer. The combination of the high heat and the butter will begin to caramelize the squash. Cook the squash for 4 minutes undisturbed. At 4 minutes, stir the squash and continue to cook for another 7 or 8 minutes. Watch the squash while it is cooking. You want it to caramelize but there is a fine line between that and burning. Remove from the pan and put into a bowl. Cook the other half of the butternut squash in 1 T. melted butter in the same way. At the end of the cooking, mix in the syrup, thyme, paprika and 1/4 t. salt. Cook for one more minute. Put this squash mixture into the bowl with the first half of the squash you cooked. Stir. Set aside.
  3. Turn your heat to medium and melt the remaining 2 T. of butter in the same skillet that you used to cook the squash. Add the garlic and the shallot and cook for 1-2 minutes. Add the mushrooms and the remaining salt to the skillet and cook until the mushrooms soften and release their juices. Continue to cook the mushrooms until their liquid evaporates (about 10 minutes). Add the wine, stir and cook until the wine evaporates (5 minutes). Stir the pepper and parsley into the mixture. Adjust seasonings. Set aside.
  4. Lightly flour your working surface and unfold the defrosted puff pastry (follow directions for defrosting on the package). You will need one large sheet of the puff pastry (a 10 by 15 inch rectangle). Cut the puff pastry into two 5 inch by 15 inch rectangles. Leaving a 1/4 inch border around the edges of the puff pastry, arrange the chopped, cooked mushroom mixture down the center of the pastry. Sprinkle crumbled goat cheese over the mushrooms. Spoon the squash down the center of the mushrooms and cheese (you will want to make a thinner spread of the squash on top of the mushroom-cheese mixture (like a stripe of squash down the center of the mushrooms and cheese), leaving about a 1 1/2 inch border.
  5. Brush the exposed edges of your pastry with egg wash. Grab the short ends of the pastry and fold them toward the middle, crimping the edges of pastry to seal them. Now, pinch the long sides of the pastry together to seal that part. Turn the puff pastry package over and place seam down on your prepared baking sheet. Brush the top of your pastry with egg wash and bake for approximately 30 minutes until it is puffed and golden brown.
  6. Remove from oven and let the Wellington rest for a few minutes before cutting it. Cut into slices with a serrated knife and serve.

Nutrition

Calories

909 cal

Fat

66 g

Carbs

64 g

Protein

11 g
Click Here For Full Nutrition, Exchanges, and My Plate Info
7.8.1.2
67
https://bluecayenne.com/butternut-squash-mushroom-wellington


Tomato and Basil Risotto and a Puppy

  I know. It’s a puppy. I can’t seem to take a decent photo of the risotto dish I want to share with you, so I’m posting a photo of a puppy. Everyone loves a puppy photo. Don’t get me wrong, the risotto is quite…

Apricot Tart

Apricot Tart

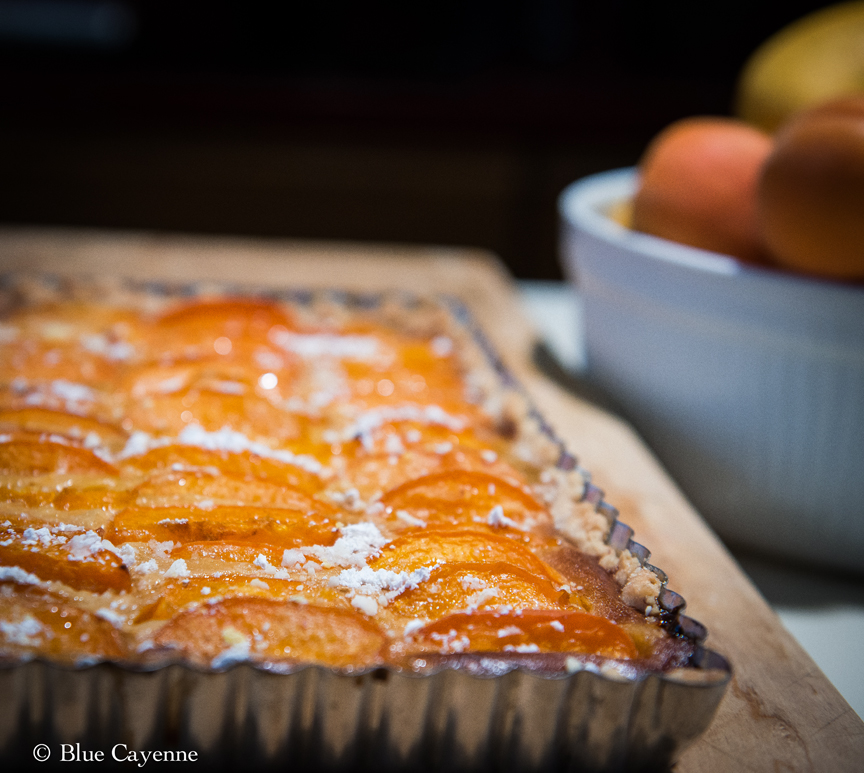
  Wow!  Just wow! What do you get when you combine a shortbread crust, a frangipani custard base and beautiful just-in-season apricots from the farmers’ market?  This tender and absolutely stunning tart! Take my advice and eat this tart just warm from the oven when the warm apricots…

All that and a bag of chips! Artichokes!


Tender artichoke hearts. Lemon. Grape tomatoes. Herbs galore. Yum.

A friend served this as the main course at a dinner party I was fortunate to attend a few years ago. She confided that the recipe came from a Jamie Oliver book, The Naked Chef–yet another cookbook I’ve added to my collection. (You can buy the cookbook here on Amazon)

Although thorny artichokes can be downright cranky to prep, they should be a regular part of your culinary repertoire–particularly during the peak of the season that runs from March through May. Rich in folate, dietary fiber, vitamins C and K, magnesium and potassium (whew!), they pack more antioxidants than red wine or chocolate.  (I’m thinking that a meal incorporating artichokes and an abundance of red wine and chocolate would be a downright health food trifecta!)

If you live here in California, you have no excuse for not making artichokes a part of your healthy diet. California produces nearly 100% of the U.S. artichoke crop and beautiful artichokes can be found in nearly every market. If you hesitate to serve artichokes because you suffer from artichoke peeling anxiety (let’s call it APA), this video demystifies the process: Video: How to peel an artichoke.

Here is my adaptation of Oliver’s recipe. I served this with a green salad and toasted Israeli couscous from Trader Joe’s. The flat taste of the couscous was a perfect counterpoint to the rich blend of olive oil, lemon and herb flavors in the artichoke dish. Part of enjoying any dish, of course, is the visual experience and this dish doesn’t disappoint. Here, the bright red grape tomatoes, bathed in silky olive oil and with their warm juicy red goodness bursting out of their skins, make this dish pop.

Quite a feast for me on a quiet Friday night. Oliver’s dish is certainly all that and a bag of chips!


Yields 4 Servings

Artichokes, Sweet Cherry Tomatoes, Thyme and Basil

40 minPrep Time

40 minCook Time

1 hr, 20 Total Time

Save RecipeSave Recipe

Ingredients

  • 4 medium to large globe artichokes
  • Olive oil
  • Sea salt and freshly-ground pepper
  • 2 cloves of garlic (sliced thin)
  • A handful of fresh thyme leaves
  • A handful of fresh basil leaves (torn)
  • Juice of 1/2 lemon (and more for the soaking water for the artichoke hearts)
  • 20 ripe cherry or grape tomatoes
  • 1 small dried red chili (or to taste)

Instructions

  1. Preheat oven to 350 degrees F.
  2. Peel and prepare artichoke hearts. Quarter them and put them in a bowl of water with lemon juice to keep the artichokes from discoloring.
  3. Add olive oil to a saucepan and sauté artichoke hearts for about 5 minutes with the lid on your pan. Add one half of the garlic, half the thyme and a generous pinch of salt to the pan. Cook (with the lid off the pan) until the garlic softens. Add the lemon juice to the pan and cook until the liquid in the pan has cooked away. Remove from the heat.
  4. Wash and dry the tomatoes. Put in a bowl with some olive oil, salt and pepper, dried chili, and one half of the torn basil. Mix these ingredients well so that the oil coats the tomatoes. Pour the tomatoes into a baking dish and spread them out evenly.
  5. Add the artichoke heart quarters to the tomatoes in the baking dish along with the remaining garlic. Sprinkle the remaining thyme and basil over the dish, season with salt and pepper and drizzle with olive oil.
  6. Bake at 350 degrees F. for 40 minutes.

Notes

I served this with Israeli couscous.

Nutrition

Calories

162 cal

Fat

2 g

Carbs

35 g

Protein

8 g
Click Here For Full Nutrition, Exchanges, and My Plate Info
7.8.1.2
61
https://bluecayenne.com/bag-chips-artichokes


Middle Eastern Eggplant Rice

To my delight, I’ve realized that I have some holes in my cookbook collection. My Middle Eastern cookbook shelf, in particular, is a little thin. I say “to my delight” because, believe me, I welcome any excuse to buy new cookbooks. Picture me with a…